
St. Kilometer Cathedral - a Minecraft Project
Late Construction
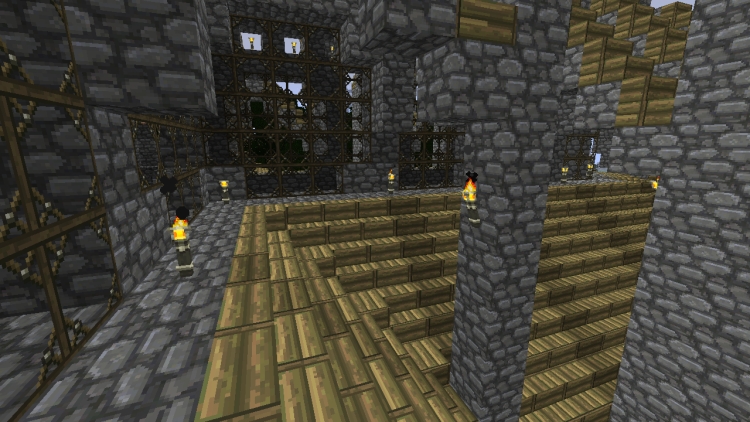
The main vaulting wasn't the only area that needed roofing; the aisles required an extensive amount of attention as well. In fact, I needed so many wooden stairs that I actually planted a forest on the south side of the church from which I could easily harvest lumber. The textures appear different in this picture because at this point, I began using a variation of "Doku's RPG texture pack," which does nothing to the gameplay except alter the graphics slightly in a way that I find pleasing.
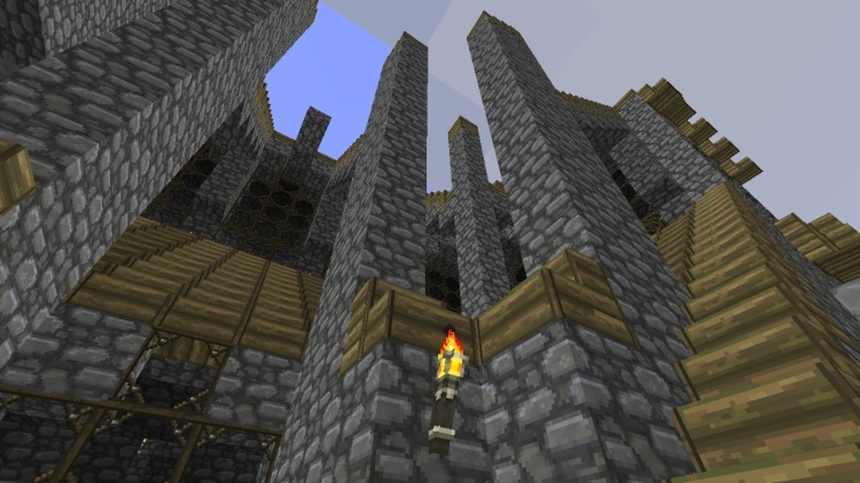
Flying buttresses from ground level on the North side of the building. The ones pictured in this screenshot are entirely complete.
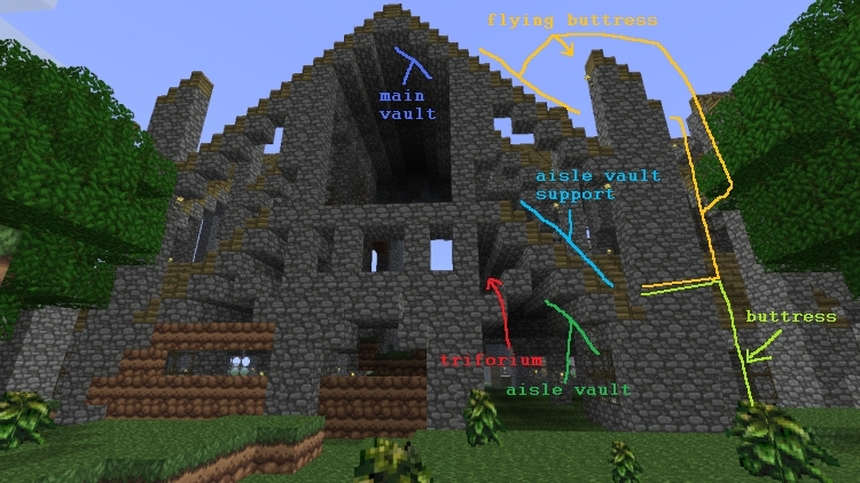
I left the south entrance of the church incomplete on purpose for this screenshot so that I could show the the mechanics of flying buttresses in action. In real Gothic cathedrals, flying buttresses redirect the weight of the central vaults toward the outside of the building so that they don't crush the clerestory windows beneath them. You can see that the aisle vault and the main vault are both being supported by the buttress on the right, but only the top part (in yellow-orange) would be called "flying" because of how it juts away from the body of the building. Luckily, Minecraft's simulated gravity only affects players and AI, and I was never in any danger of watching my cathedral tumble to the ground an elephant on stilts. As an aside, you can see the triforium in this picture, too. It looks like a Tetris block.
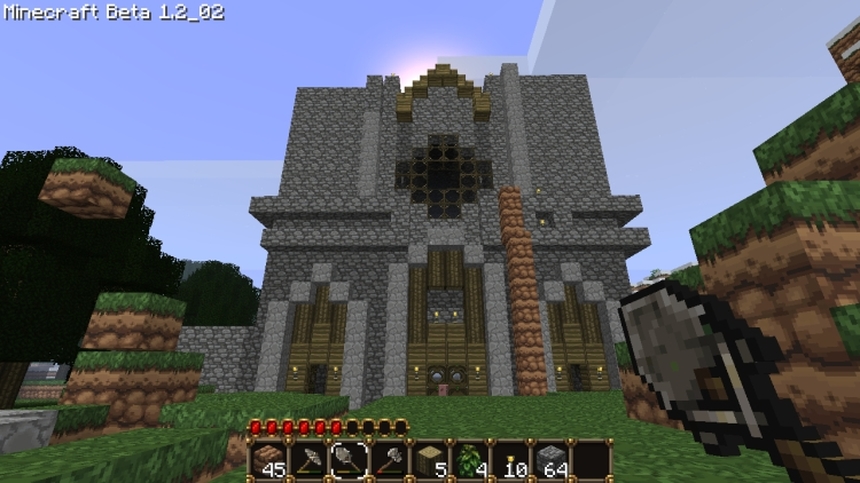
This image features a now even more complete facade. Several new materials had been added above the doors by this stage to enhance the appearance of depth, including wood, raw timber, and smooth stone. Also, you can see the forest that I mentioned earlier to the left of the picture. The bell towers are one of the only parts of the outside of the church at this stage that aren't entirely finished.
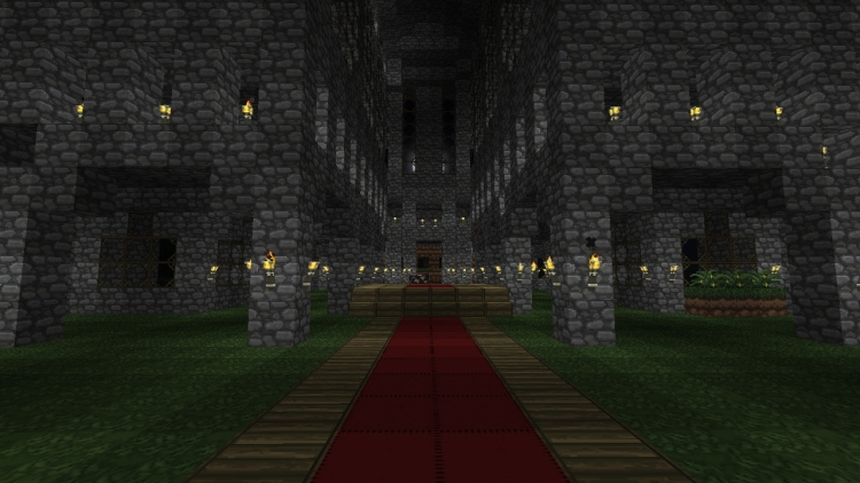
Eventually, I got to the point where the outside of the cathedral was finally closed off to the hostile wilderness. Since enemies generate only in dark places, I focused heavily on interior illumination. Unfortunately, a lot of the floor was still grass at this point and it was not uncommon to find herds of sheep or cattle wandering around the church. This shot shows the almost-finished choir section and apse of the church nicely, along with the beginning of my work on the floor. A cow was hiding just behind the elevated platform in the middle of the choir when I took this screenshot, and beyond that you can see that I was still using dirt to section off the yet-unfinished chapels.
This picture also represents the moment in time that I figured out how to hide my UI consistently while taking screenshots.
This picture also represents the moment in time that I figured out how to hide my UI consistently while taking screenshots.
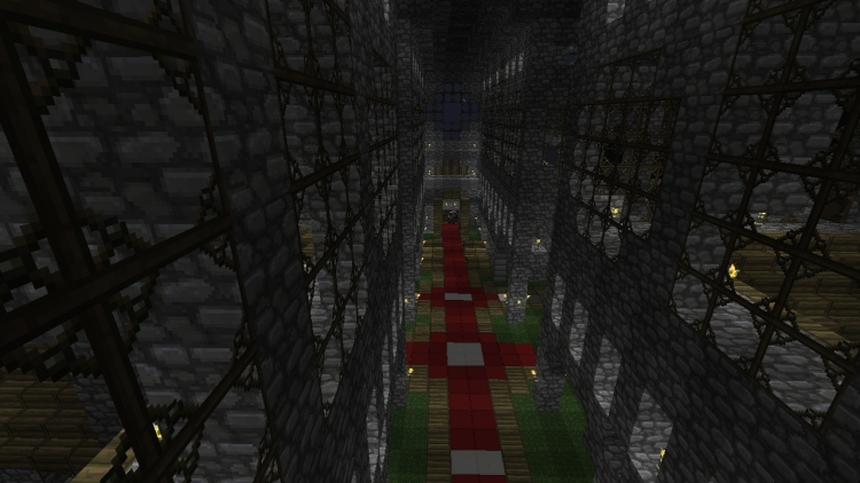
The opposite view. The clerestory by this stage was entirely filled with glass.
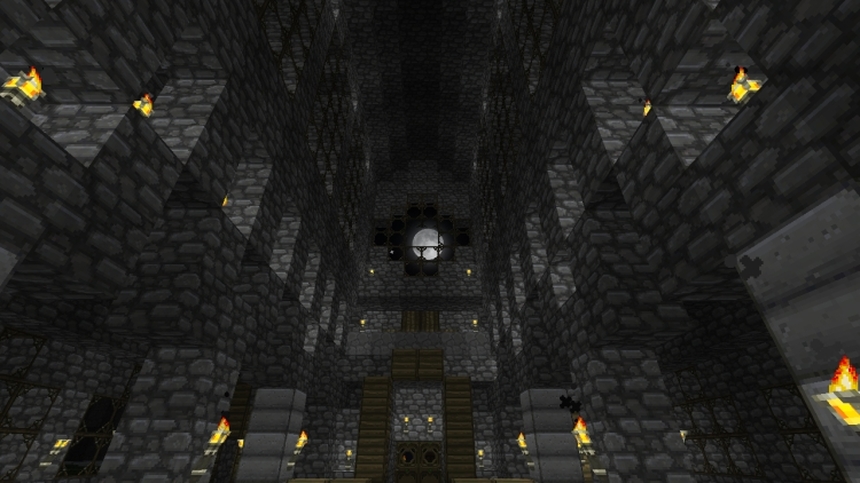
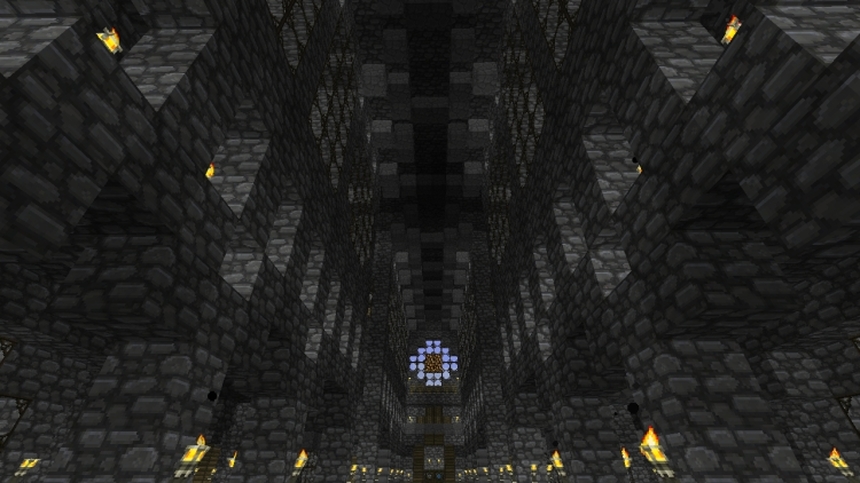
Before I could call the cathedral finished, something had to be done about the vaults. The ceilings of Gothic cathedrals are characterized by thin, ornamental ridges of stone called "ribs" that appear to form a criss-cross pattern when observed from the floor. I won't bore you with more specific details about rib vaults, but I will tell you that in real Gothic cathedrals they redirect weight in such a way that maximizes the space available for windows. My ceiling in the above screenshot is an example of what you would call a barrel vault, and not a groin vault or a rib vault. Fortunately, I figured out a way to simulate a rib vault without taking the old ceiling apart.
Here is the first shot of the improved ceiling showing the rib vaults. For those of you keeping track, I actually did "cheat" a little by giving myself 4 glowstone for the rose window. This material is unattainable naturally on multiplayer servers, which is why I gave some to myself in this particular case.
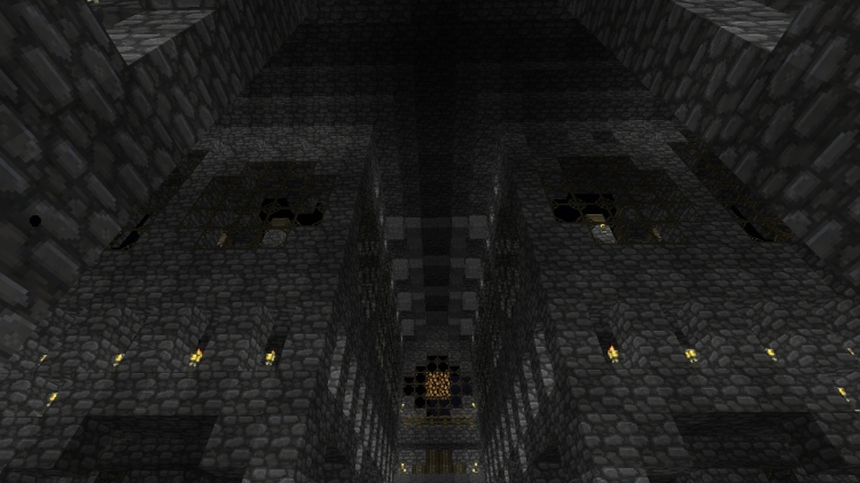
Ahh... a job well done. After finishing the ceiling, St. Kilometer cathedral was almost entirely complete. Hit up the next page for a guided tour of the finished product!
Continue to Part 4 - Guided Tour
Continue to Part 4 - Guided Tour