
ST. KILOMETER CATHEDRAL - A MINECRAFT PROJECT
Early Construction
There once was a vast, grassy field with nothing in it near the little hut I called my home, and I chose that as the building site for St. Kilometer due to convenience. This is the first screenshot of St. Kilometer that I took, long before it was finished or named.
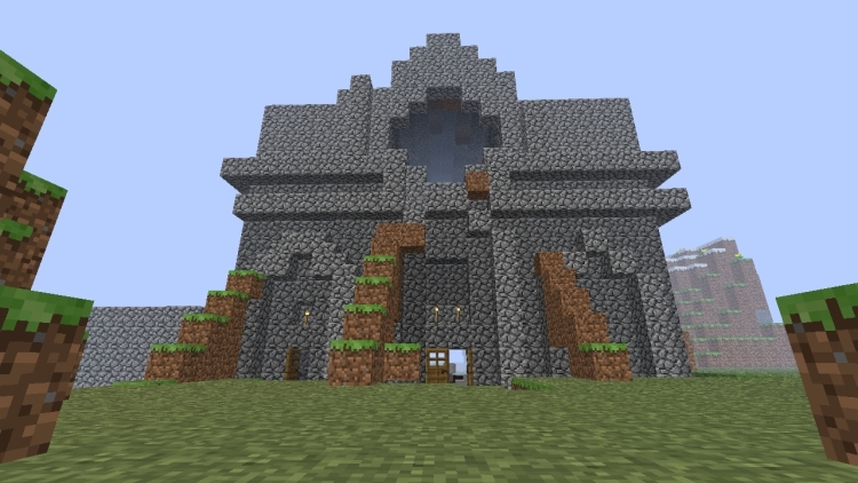
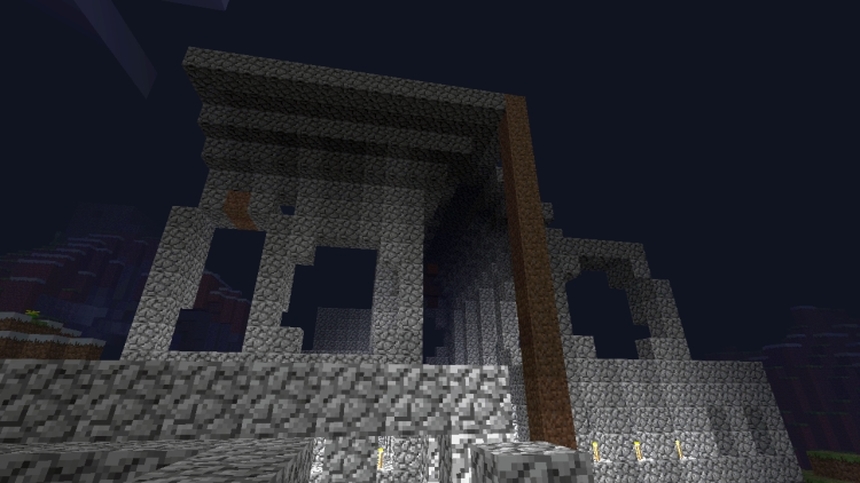
The facade was the first part of the project that I worked on. Each block is a 1 meter cube, so by building the front of the church first I was able to get a pretty good grasp of the scale that I wanted to work with for the rest of the project. My goal was to achieve something that was more or less "life size," but as I explained in the introduction, the dimensions are actually somewhat stunted compared to real High Gothic constructs. The rose window faces east, and the apse faces west; just like a real church.
Here's the tiny little shack where I cowered at night during the first stages of the project. You can see this building in the first picture, too... it's just to the left of the cathedral front. I eventually connected this building to the rest of the church and called it the "crafter's chapel."
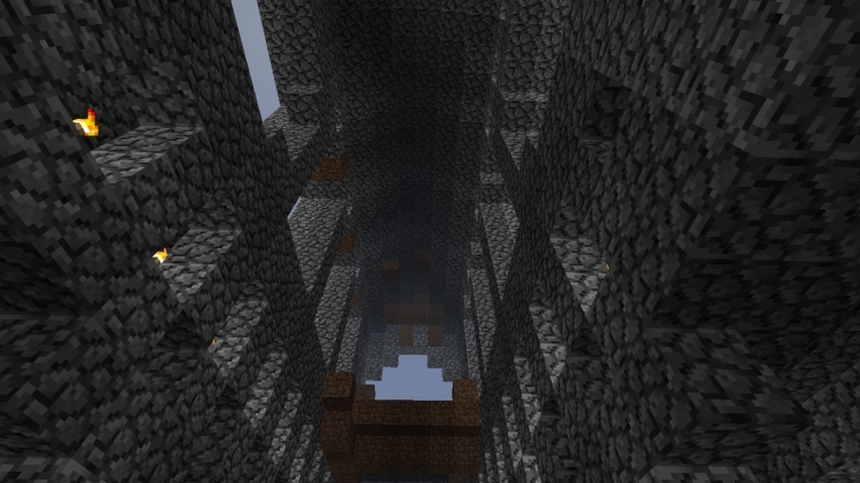
After building the front of the cathedral, I began work on the nave. You can see the clerestory and triforium levels fairly well in this picture, although at this stage, the clerestory's signature glass windows had not been finished yet. When you walk through the church's front door, this is the view you get when you look back up at the rose window toward the east. This is the part of the project that I really wish I had some more pictures of, since you can see here that I already have a good chunk of the cathedral built already. The ceiling does not have it's signature rib vaults yet, and it won't for quite some time.
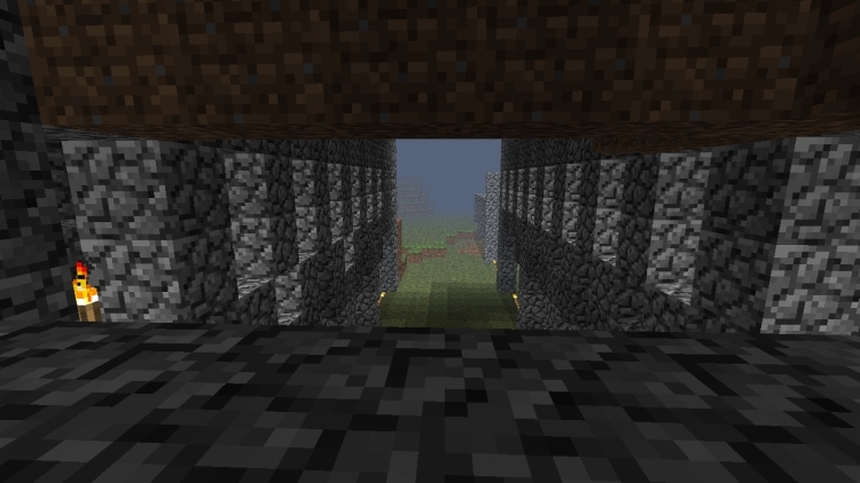
This is the opposite view during the same stage of construction. I was using dirt as makeshift scaffolding for most of the project.
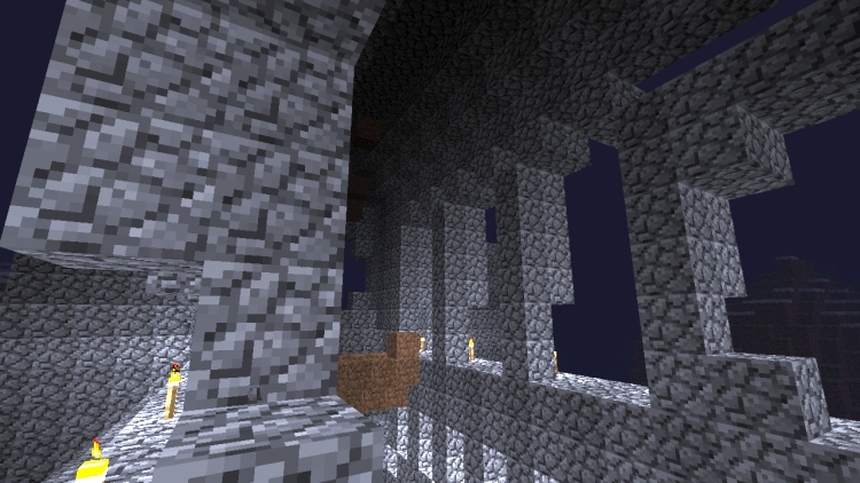
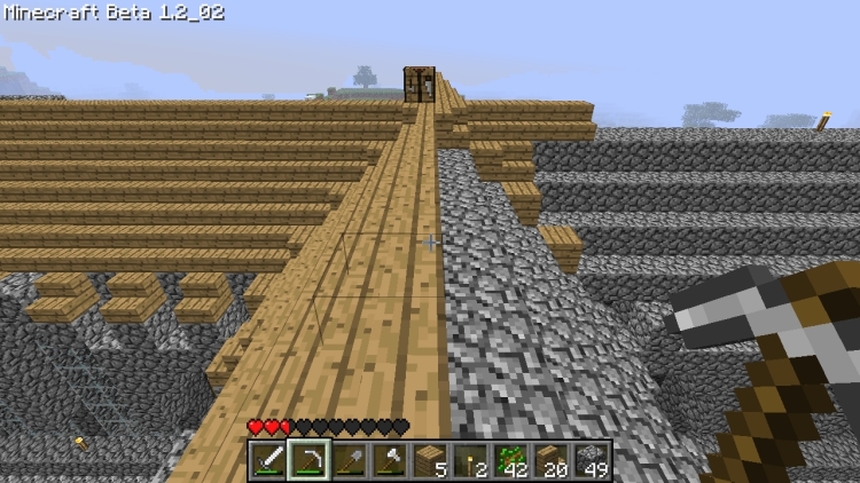
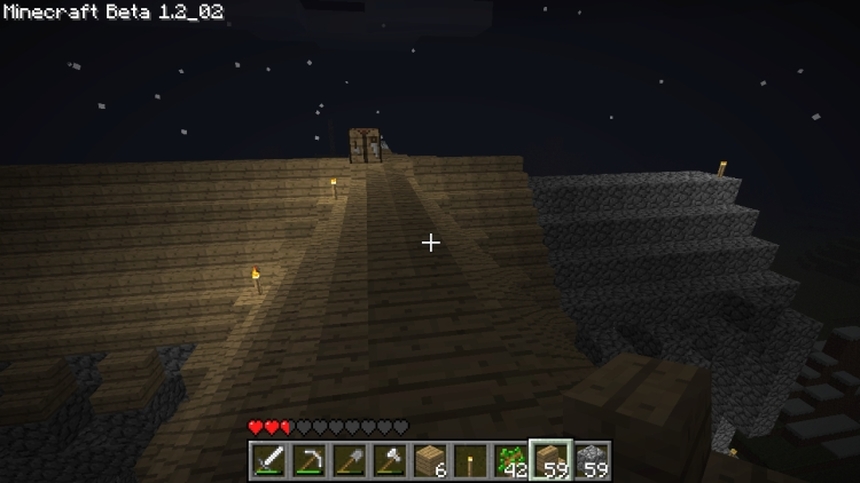
In the infancy of the building process, I developed a method of working on the ground during the day and working high in the air at night, where I figured monsters on the ground would be unable to reach me. It worked for the most part, but the number of deaths I accumulated due to falling damage skyrocketed. The two-block tall gap you see just above each torch was to allow me easy access to the clerestory windows. I altered the colors in this picture slightly to make it less dark.
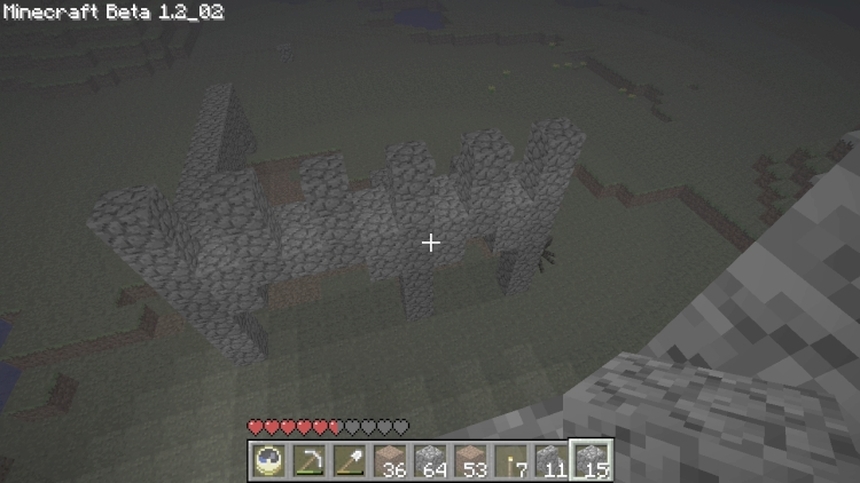
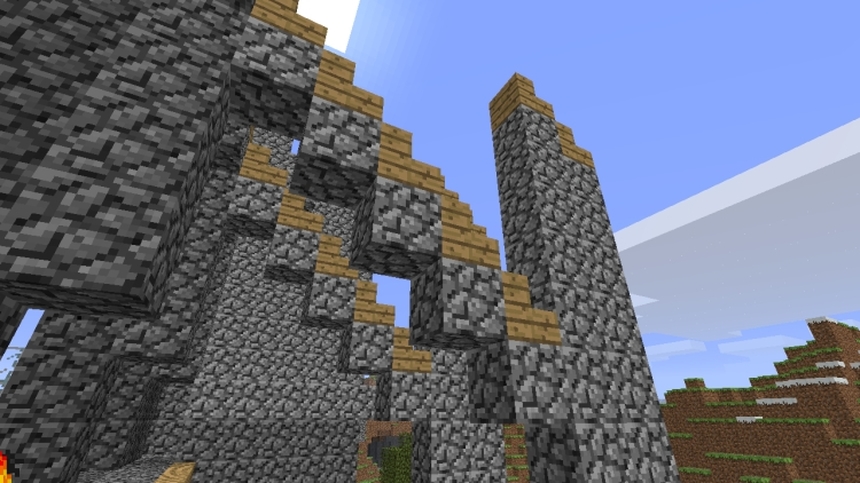
Another (poorly) color-altered night shot showing an unfinished elevation of the north transept. The two-block high columns that jut into the air like comb teeth are the makings of the triforium on that part of the church. I was foolish and did not place any torches there at first, so it was a veritable nightclub for monster activity.
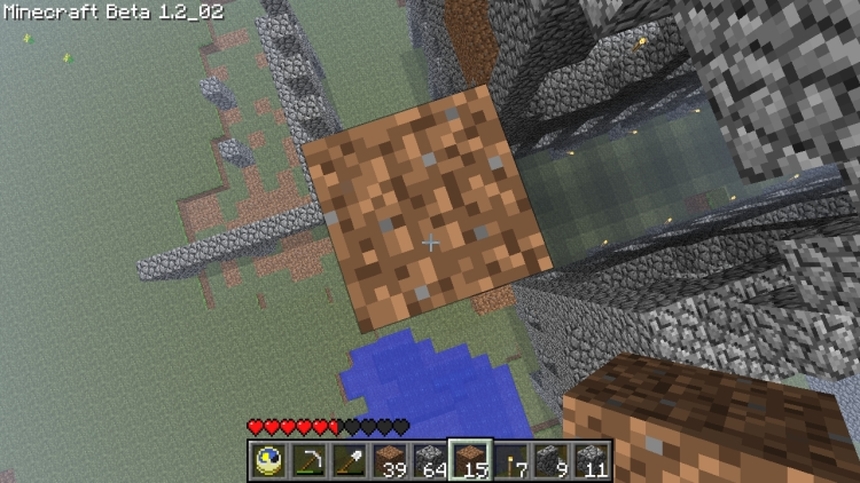
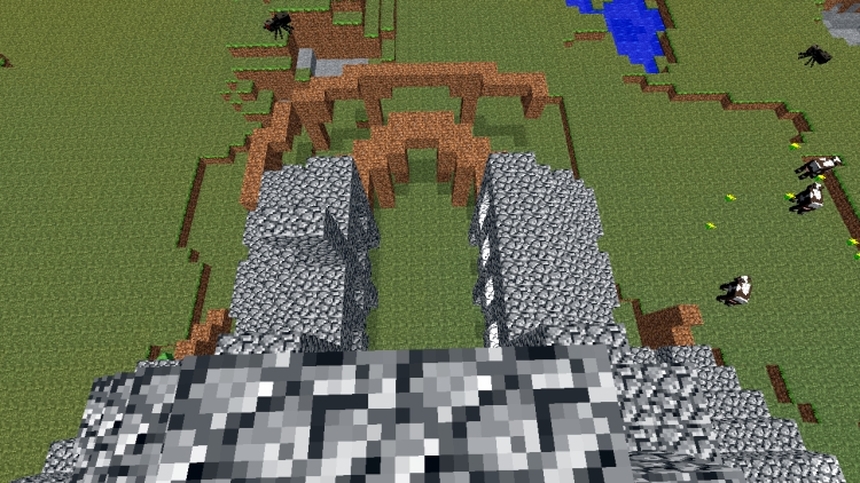
The area I am standing in this picture is exactly where nave, north transept, south transept, and choir meet, and this is appropriately called the "crossing." Only one half of the transept was in progress at this point, and it is apparent from this view that I had a lake to fill before I could begin work on the south end. The "extremely unsafe tower of dirt" was a method I used at several different intervals, often with disastrous results.
My unsafe tower of dirt is featured very nicely in this shot, and a spider hovers beneath it like some sort of ground-vulture. The field in which I started building St. Kilometer cathedral was truly spacious, as you can see.
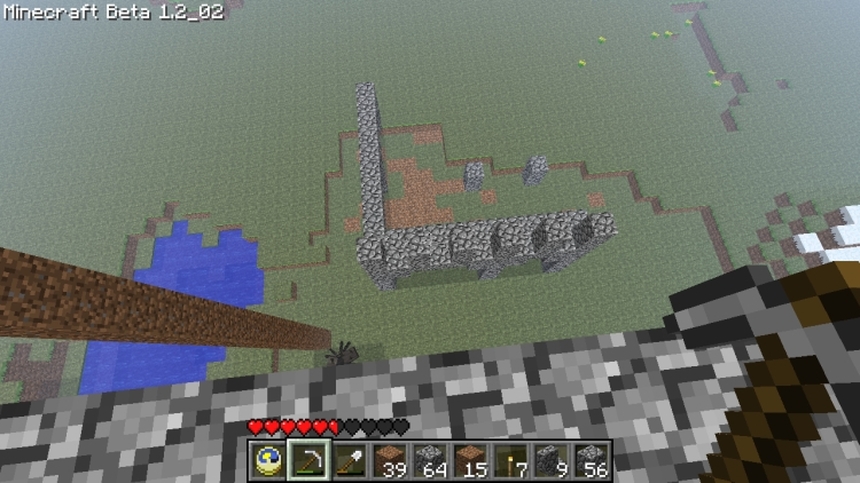
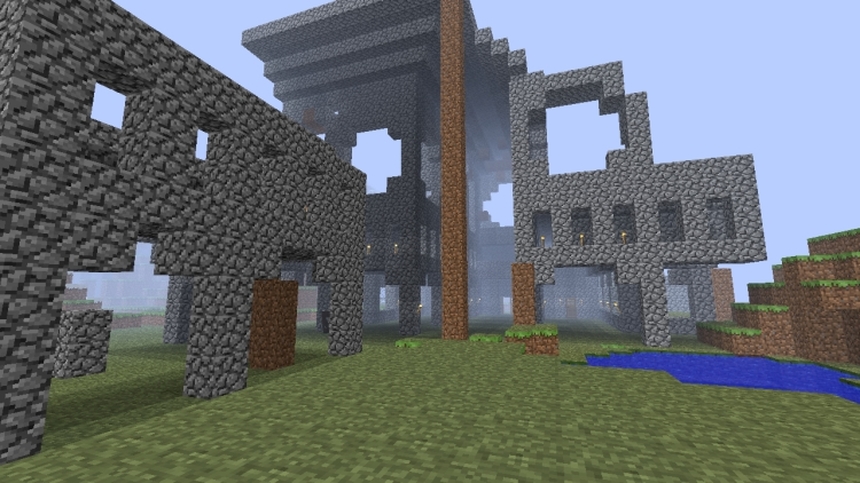
Here is an even more complete transept. This picture also provides a nice cutaway/sideview of the cathedral's main vault, which branches out into the North and South transepts as soon as it reaches the crossing. Enabling myself to reach those vaults in order to add more blocks to them proved to be one of the greatest challenges I encountered during the entirety of the project.
There's that pesky lake again. The beginnings of the choir wall can be seen in the left foreground of the picture. Suggestions were made at this stage that I try and "close off" the cathedral temporarily to prevent monsters from appearing and/or running inside, but as you can see, that would have been a monumental task in itself. I continued my method of working on the ground during the day and high up in the air at night to avoid attacks.
This shot looks down upon an even more finished choir section, with the beginnings of the apse (rear, west end) mocked up in dirt. Still many spiders hanging around waiting for me to fall.
As soon as the primary vaulting was done, I started to add the wooden roof. The roof I added was actually constructed from a ton of wooden stairs, and this picture shows how the vaults look with and without them in place. You can see in the lower left corner of the picture that I had also begun to add glass to a few of the clerestory windows when this screenshot was taken. In real Gothic cathedrals, there is some space between the top of the vaults and the roof. It would have been infinitely more difficult to do this in my case and would have served no structural or aesthetic purpose, so I opted for the easy route and simply covered the vaults directly with roofing.
Same perspective as the previous shot, but with a little more work done on the roof. This actually proved to be a relatively safe place to be at night, thanks to the torches.
I began adding the flying buttresses at around the same time as the roof. These proved to be quite challenging, as there was no real way to move quickly between the place I was standing in the above picture and the top of the vaults, and positioning in both locations was necessary in order to complete the buttresses. Many unsafe pillars of dirt were erected, and many falling deaths were had. I will explain the purpose of flying buttresses in more detail soon.
Continue to Part 3 - Late Construction
Continue to Part 3 - Late Construction